Rachel Kay
16-11-2020
How to Design Killer Flower Arrangements for Valentine's
Romantic flower arrangements

How to Recreate This Look
What is black and white and red all over and smells like a garden?? These Valentine’s Day flower arrangements! Here I combined two all time favorites-flowers and strong contrasts for a winning combination. These arrangements are so striking and will wow anyone that sees them and are so simple to do. With inexpensive flowers that I bought in a supermarket and of course our bold black vases, I created these gorgeous centerpieces. They are so simple that anyone can do them. I will show you exactly how, step by step. You won’t need any supplies, except for a vase, flowers and a kitchen knife.


In This Article:
- Gather Your Supplies
- Let's Get Creative
- Take It To the Next Level
Gather Your Supplies
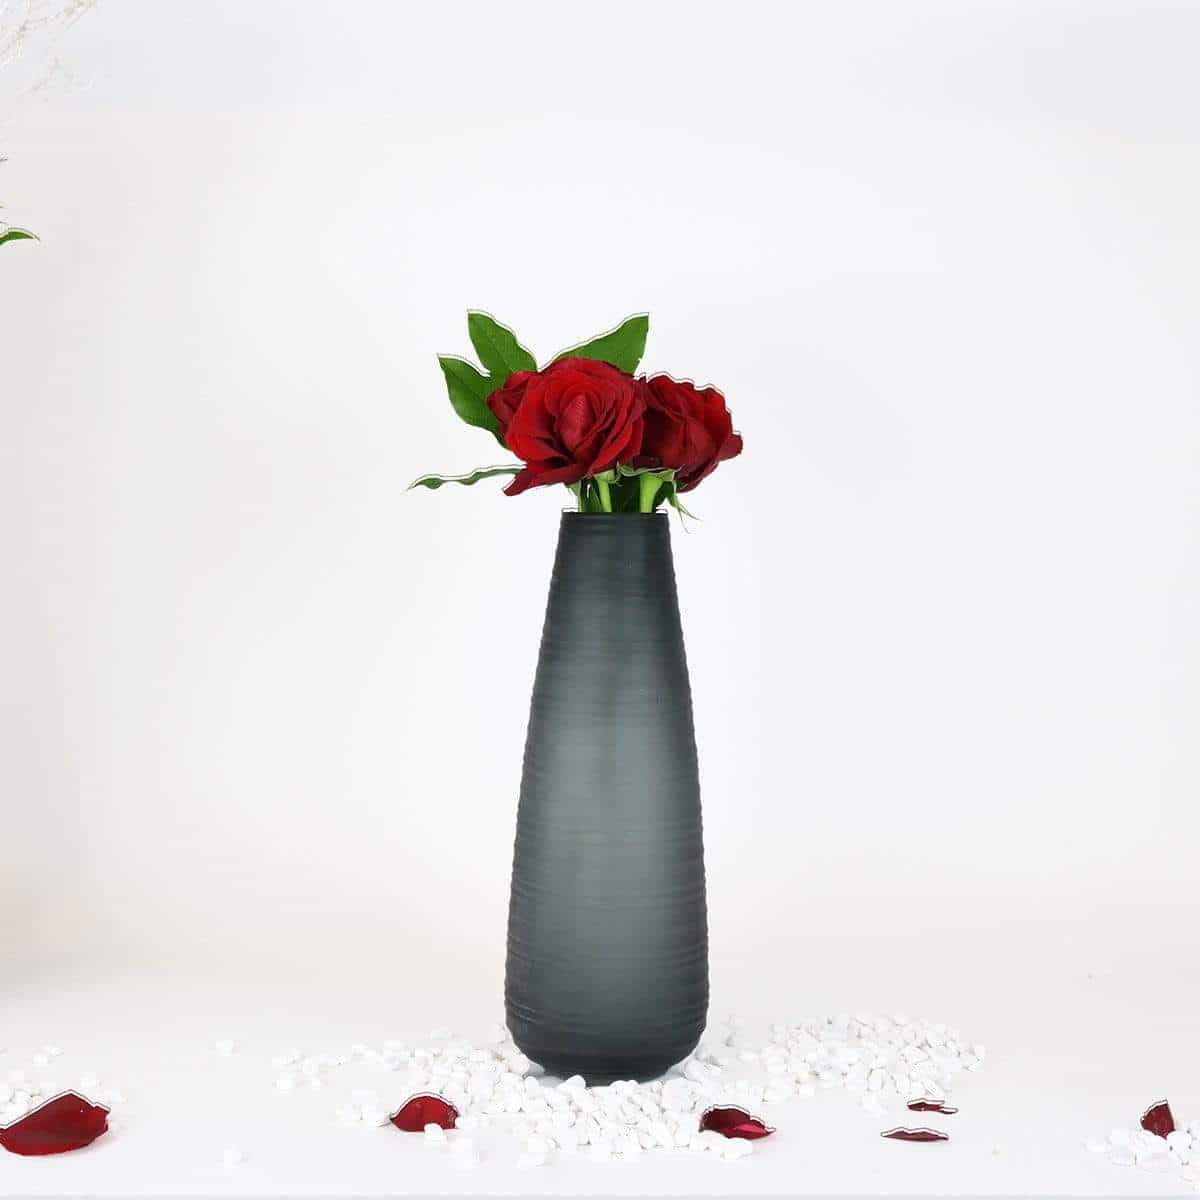
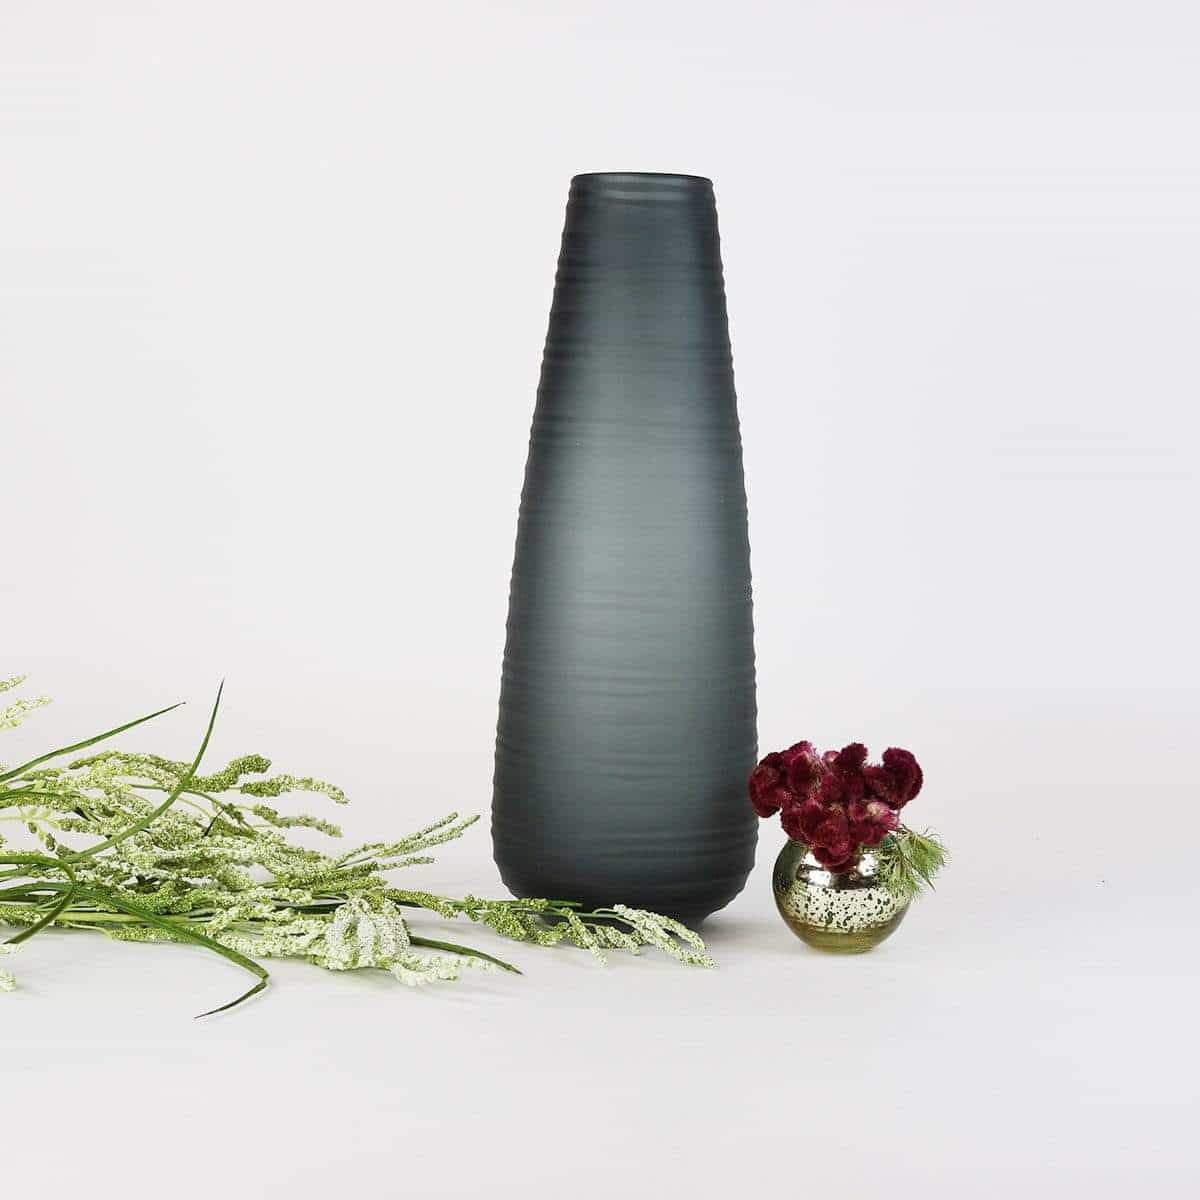
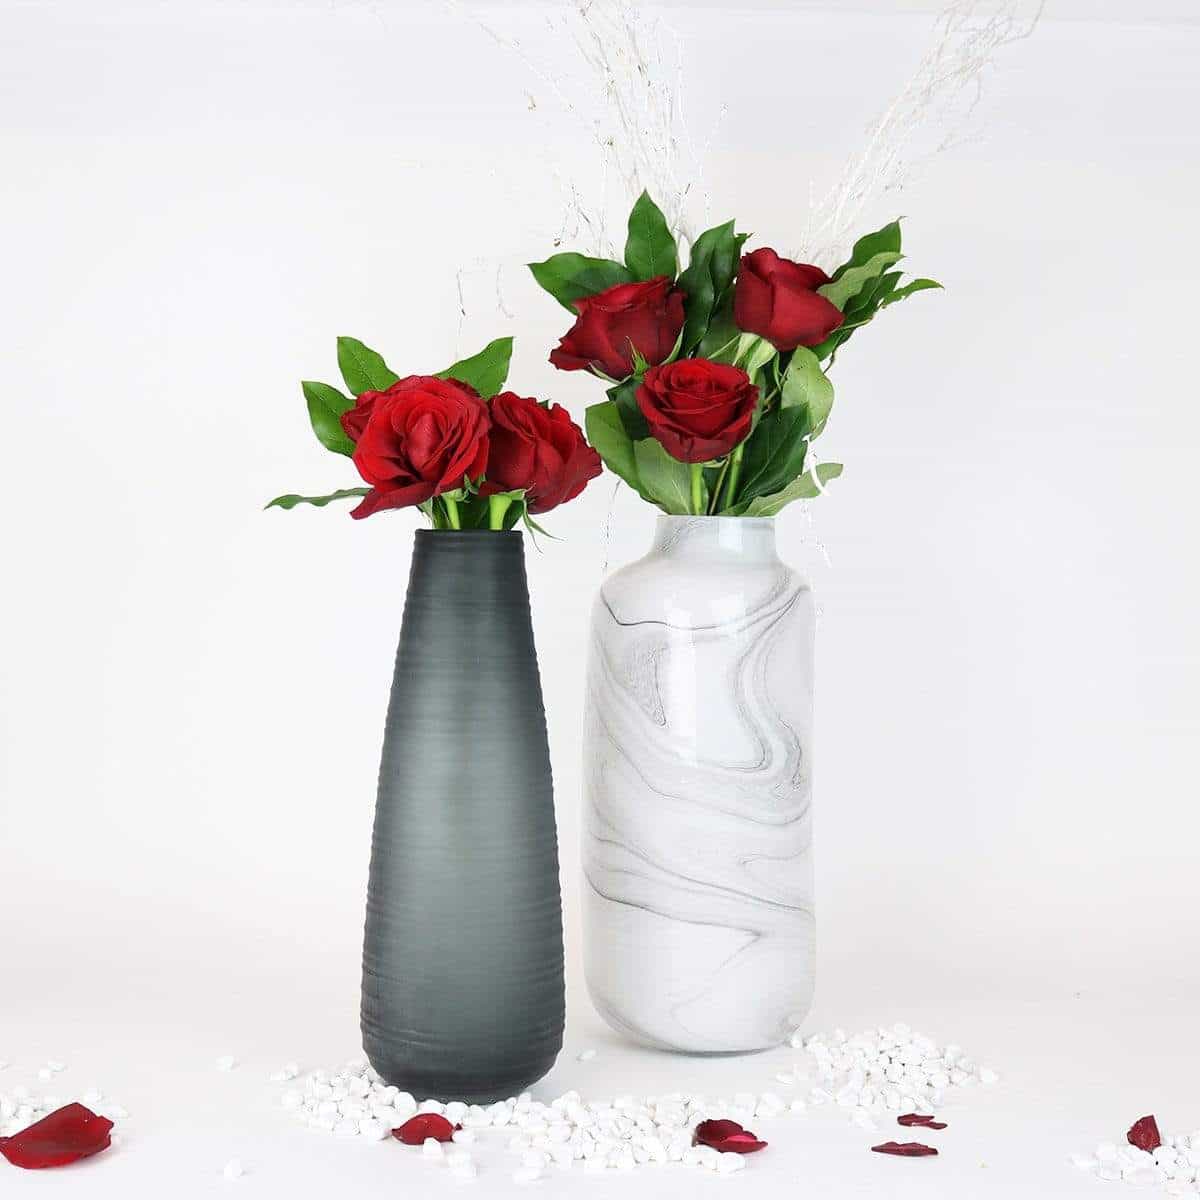
First, you need to select your vases. I used black since I thought it contrasted beautifully with the red and white. The opening of the vase is very important. It cannot be very wide, since you will need a lot of flowers to fill up the opening and create that tight and tailored look. A very small opening won’t do either, since you won’t have room to create this design. I suggest an opening of 5”-6” After you selected your vases fill them with water to within an inch or two from the top.
Here I made two different arrangements. I will walk you through the taller one first. Here I used a dozen of red roses and a green puffy flower which looks like green pompons. It is in fact a variety of carnation called Green Trick, also called Dianthus.
Let's Get Creative - Tall Arrangement
Take the green Dianthus first, you will need to cut them to size. Take one stem and hold it up next to the vase, so that just the head is above the rim. Put your finger at the bottom of the stem where it hits the surface you are working on.
Then, lay the stem down, and cut it where you marked it with your finger. Put the stem into the vase and make sure the height is correct and it is resting on the rim of the vase, not higher. If it is higher, it will flop around, and you won’t get that tight compact look.
Now put all the dianthus into the vase, outlining the rim, leaving the center empty. Take one rose and hold it next to the vase, checking that the head of the rose it right above the top of the dianthus heads. Mark the stem and cut to the correct height. Now check if it is correct by inserting the stem and making sure it is not too high or too low, and that it is mostly above the dianthus, just slightly sunken so that the bottom of the rose is a little bit hidden by the top of the dianthus. After confirming that it is fine cut the rest of the roses to size.
I like to fluff up the roses to make them fuller by gently pulling the petals away from the center, starting by the outer petals and working my way to the center. Now start inserting the roses in a circular fashion in the center of the vase. Starting by leaning the roses against the rim of Dianthus and then filling in the center. You can adjust the roses to make them look more uniform, by raising some and lowering some. Now you have a stunning and sophisticated arrangement, that can be created anytime.
I like to fluff up the roses to make them fuller by gently pulling the petals away from the center, starting by the outer petals and working my way to the center. Now start inserting the roses in a circular fashion in the center of the vase. Starting by leaning the roses against the rim of Dianthus and then filling in the center. You can adjust the roses to make them look more uniform, by raising some and lowering some. Now you have a stunning and sophisticated arrangement, that can be created anytime.


Take It to the Next Level - Lower Arrangement
The second lower arrangement I used a low vase since the flower design should be viewed from above, and that would be quite impossible with a taller vase. I used inexpensive carnations to form this arrangement, but it looks like a million bucks! I used 2 dozen white carnations and one dozen red. You need to have plenty to form this design, but since they are inexpensive, they still are economical. Start by taking one white carnation and holding it up next to the vase. Make sure that the head is resting right above the rim of the opening and then put your finger where the stem meets the working surface. Hold your finger at that point while laying your stem down.
Using a kitchen knife, cut the stem right below your finger. Insert your stem in the vase and check if the height is correct and the flower is resting on the rim of the vase. Lay the flower down and the rest of the white carnations next to it. Taking a few at a time lay them down together with your cut stem, aligning the tops and cutting the stems to the identical size. Start putting in the white flowers in a circular pattern one by one around the rim, working your way to the center. Adjust them so that they look uniform and form a neat circle. It is nice when it is a little bit dome shaped so put the flowers that are slightly taller to the center of the circle. You can also adjust them and raise and lower some, until you get a pretty uniform look.
Next it is time to create the exciting part, the heart. Start by taking one red carnation and holding it right above the level of the white flowers. Cut it to size and insert it in the arrangement, checking that it is lying correctly, resting right on top of the white flowers. Cut the rest of the red flowers to the same size. Now you will need to use your creative eye and just insert the flowers forming a heart shape. I like to start with the bottom point using one of the smaller carnation heads, and then work my way around one side of the heart. Don’t worry about getting it perfect the first time. You can always readjust the stems and poke around until you get the look you want. Now go ahead and be proud of your creation. I’m sure you will get a lot of compliments on your creativity with this one. Happy Valentine's Day to you!!


Author

Rachel Klein
Tags
Amalfi Coast
Kosher Food
Local Chef
Authentic Italian Cusine
Pure Food
Local Delicacies
You May Also Like

Want To Receive More Tablescaping Tips?
Join us to receive the latest tips and tricks in dinner party hosting.